How To Choose The Right Pc Cooling
In competitive gaming, every millisecond counts—especially when it comes to your PC’s cooling. An overclocked CPU pushing 5.0 GHz in a high-stakes FPS or a streaming rig running 24/7 with optimal temps demands a cooling system that can keep your hardware stable and performant. Choosing the right cooling solution isn’t just about keeping things under 70°C; it’s about unlocking maximum clock speeds, reducing input lag, and ensuring reliable performance during intense gaming marathons or critical streaming sessions. Whether you're a budget builder or a full-blown enthusiast, understanding the ins and outs of PC cooling is essential.
Let’s break down what matters most—air cooling vs. liquid cooling, performance specs, noise levels, and how to match your cooling setup to your gaming goals. Get it right, and your setup will run blazing fast, forever cool, and ready to dominate in whatever game you throw at it.
Table of Contents
Understanding Your Cooling Needs
Before choosing a cooling solution, assess your hardware and gaming demands. Are you overclocking your CPU to squeeze out extra FPS in shooters like CS:GO or Valorant? Or are you streaming, pushing your GPU and CPU to handle encoding and multitasking? High-performance CPUs like Intel’s K-series or AMD Ryzen's unlocked models generate substantial heat—requiring robust cooling to prevent thermal throttling, which directly impacts frame stability and input responsiveness.
Additionally, consider your case size and airflow layout. Small form factor cases with limited airflow space benefit from specialized low-profile coolers, whereas full towers accommodate larger, more effective radiators or fan arrays. Profile your setup’s needs: aggressive overclockers prioritize cooling capacity, while casual gamers might suffice with mid-range air coolers. No matter what, your goal is to maintain ideal thermals—ideally below 80°C for CPUs during gaming sessions and below 70°C for GPUs under load.
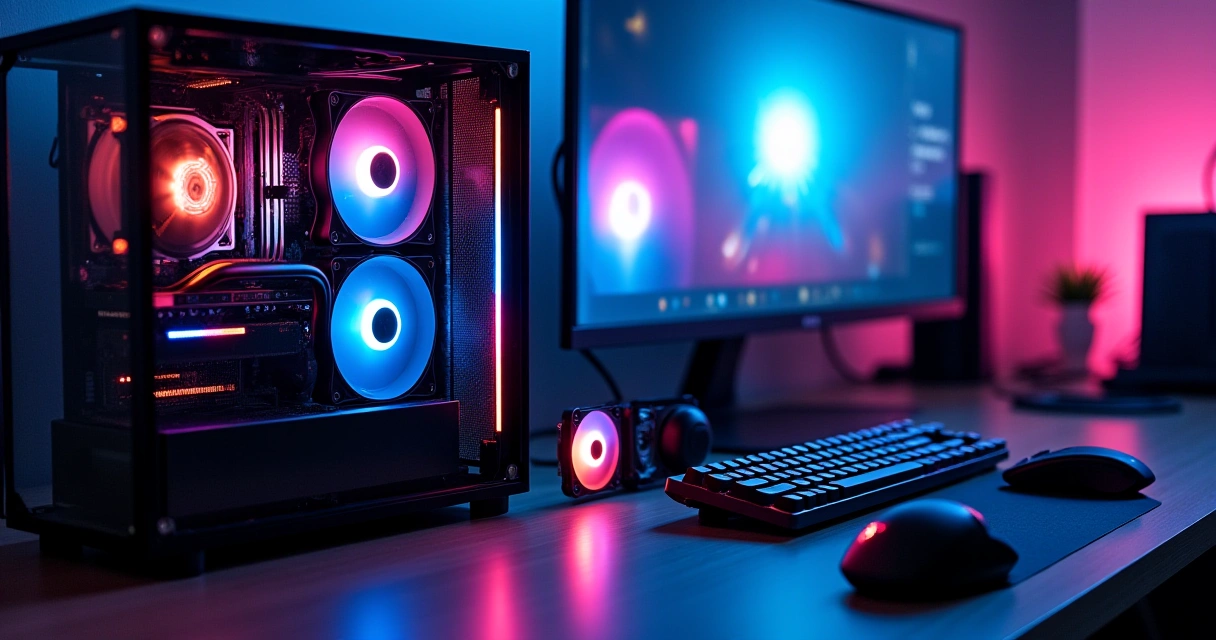
Air Cooling vs. Liquid Cooling: Pros & Cons
Air coolers are your traditional go-to—they’re reliable, easier to install, and tend to be more budget-friendly. High-end air coolers like the Noctua NH-D15 or be quiet! Dark Rock Pro 4 can handle overclocked CPUs in competitive play without breaking the bank. They also produce less maintenance noise and are less prone to leaks. However, their bulk can impact RAM clearance and case compatibility, especially with smaller cases.
Liquid cooling, particularly AIO (All-In-One) solutions, offers superior thermal performance—dropping CPU temps by 10-15°C over high-end air coolers, which translates directly into improved overclocking headroom and lower thermal throttling. They also tend to be quieter at high loads due to larger radiators and optimized fans. But, AIOs are more complex to install, cost more upfront, and carry a small risk of leaks or pump failures. For gamers streaming 24/7, investing in reliable liquid cooling can mean quieter operation and sustained performance under load.
Key Specs to Focus On
When comparing cooling solutions, several specs directly affect your performance and game stability:
- Thermal Design Power (TDP): Match your cooler to your CPU’s TDP. Overclocked CPUs like the AMD Ryzen 9 7950X (TDP up to 170W) need cooling solutions rated for at least that level for reliable operation.
- Fan RPM & Static Pressure: Higher RPM fans move more air. Look for static pressure fans (>2.0 mm H2O) if you’re pushing through radiators or dust filters to maintain airflow efficiency during high load.
- Radiator Size (for liquids): 240mm vs. 360mm radiators—larger radiators dissipate heat more effectively, enabling better thermal headroom during extended gaming or streaming sessions.
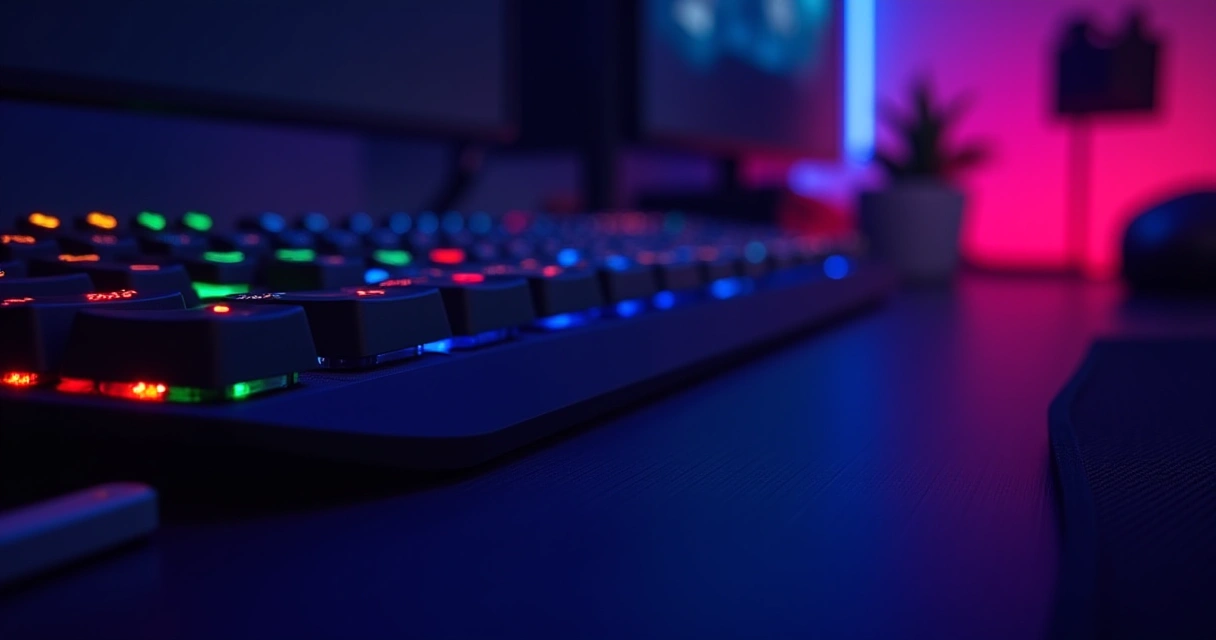
- Noise Levels: Measured in decibels (dB). Less than 30dB is ideal for streaming setups to avoid background noise in your mic feed. Use fans with PWM control for variable speed operation.
In competitive FPS, a cooler running CPU can mean milliseconds shaved off your latency. For streaming, stable thermals reduce glitches caused by thermal throttling, ensuring smooth gameplay and encoding performance.
Matching Cooling Solutions to Your Setup
Your choice heavily depends on your PC case, hardware, and budget. For example, if you have a mid-tower with ample space, a 360mm AIO can handle overclocked CPUs comfortably while keeping noise to a minimum. On a tight budget, a high-end air cooler like the Coolermaster Hyper 212 Black Edition provides excellent value without sacrificing thermal performance.
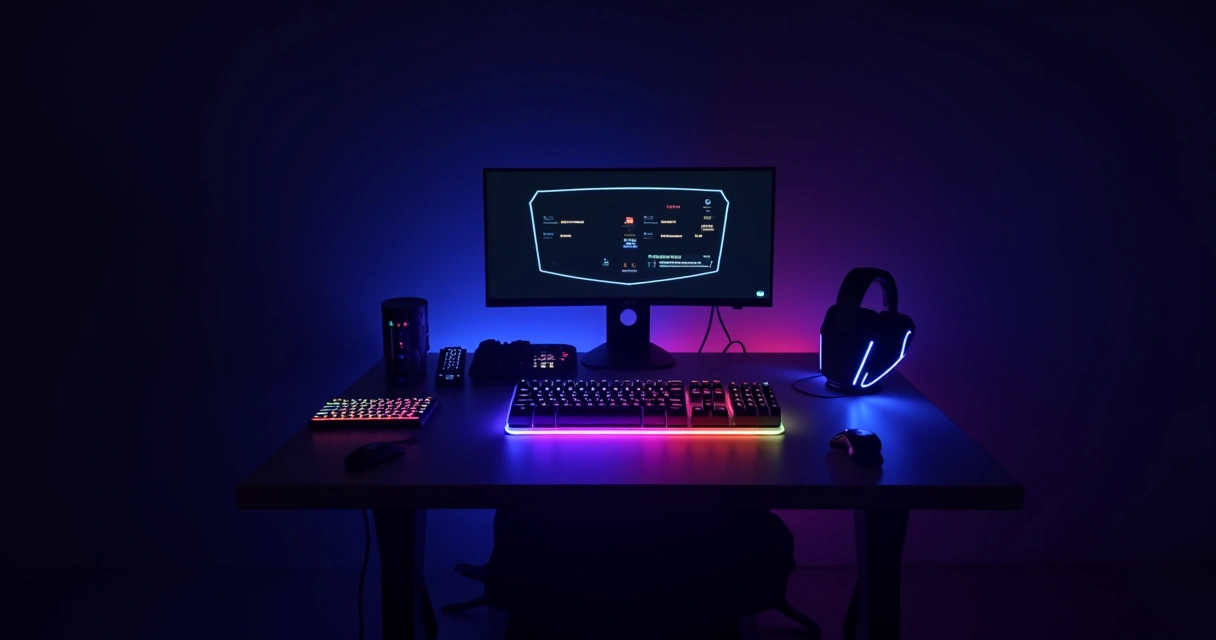
If you’re running a streaming setup with a high-refresh-rate monitor and a beastly CPU, consider upgrading to a custom loop or premium AIO like the Corsair iCUE H150i Elite. These systems provide not just better cooling but a sleek, aesthetic look—crucial if your stream features show off your setup. Remember: cooling isn’t just about temps; it’s about reliability and longevity, especially during marathon gaming or long streaming sessions.
Installation Tips for Peak Performance
Proper installation maximizes the benefits of your cooling solution. For air coolers, ensure the heatsink makes full contact with the CPU IHS by applying the right amount of thermal paste—too much or too little can drastically reduce efficiency. Secure the cooler evenly for uniform pressure and verify RAM clearance beforehand.
Regarding liquid coolers, mount radiators in airflow-optimized locations—often the top or front of your case—and ensure fans are configured for positive or negative pressure as needed. Tighten fittings without over-tightening, which can damage components or cause leaks. Finally, run your pump at max RPM during initial setup to bleed out air bubbles and then dial down to quieter settings once stable.
Maintenance & Long-term Upkeep
Regular maintenance is key to sustaining optimal cooling performance. For air coolers, periodically clean dust from fans and the heatsink fins—clogged dust can cut airflow by 50% or more. For liquid coolers, check for signs of leaks, pump noise, or reduced performance every few months.
Replacing thermal paste every 2-3 years is a smart move, especially if you’re pushing your system hard. Use high-quality compounds like Arctic MX-4 or Thermal Grizzly Kryonaut for best results. Additionally, keep your case’s airflow path clear—organize cables, remove dust filters for cleaning, and ensure intake/exhaust fans are functioning properly. Cleanliness directly impacts thermals, especially during critical gaming tournaments or streaming marathons.
Frequently Asked Questions
What’s better for gaming: air cooling or liquid cooling?
For most gamers, high-end air coolers are sufficient and simpler, offering excellent thermal performance at a lower cost. However, if you're overclocking aggressively or want quieter operation for streaming, high-quality liquid cooling provides better thermal headroom and lower noise levels. Choose based on your overclocking plans, case size, and budget.
How do I know if my cooling system is enough?
Monitor your CPU and GPU temperatures during gaming and streaming. Consistently hitting above 85°C for CPU or throttling GPU temps indicates you need better cooling. Aim for below 80°C under load for CPUs and below 70°C for GPUs to ensure peak performance and longevity.
Can I upgrade my existing air cooler to a liquid system?
Yes, most modern air coolers are compatible with different socket types, and switching to an AIO or custom loop can significantly improve thermals. Just ensure your case has enough space for radiators if you choose liquid cooling.
Does a bigger radiator always mean better cooling?
Generally, yes—a 360mm radiator has more surface area than a 240mm, enabling better heat dissipation. But case compatibility and airflow also matter. Sometimes, a smaller radiator with high-quality fans can outperform a larger one if airflow is optimized.
How often should I replace thermal paste?
Every 2-3 years, especially if you perform regular overclocking or notice higher temps. Fresh thermal paste improves heat transfer, keeping your system running cool during intense gaming and streaming.
Maximizing your PC’s cooling isn’t just about aesthetics—it’s a critical factor in achieving ultimate performance, reliability, and longevity in competitive gaming and streaming environments. Arm yourself with the right knowledge and equipment, and you’ll keep your rig running cool under pressure. Next step: assess your current setup and start planning that upgrade for smoother, faster, more reliable gameplay.